
If you’re someone who has a lot of fun with boxes, this is for you. One way to use boxes is through candy boxes. If you’re someone who is trying to give a great present to someone that you like, why not try a candy box. There are many was to use these and there are so many fun DIY projects that can be done with these. So, what are you waiting for? Let’s talk about candy boxes, and some of the best options out there.
So, even if you’re not a fan of licorice, or whatever you want to use in this, there are so many great candy boxes that you can use, and there are some neat ways to make some fun acrylic boxes. This is a fun project for both kids and adults, and the best part is, you can do this all in the timespan of your favorite Walking Dead episode. So, what are you waiting for?
Let’s learn about some fun candy boxes options that you can use, and some aspects that will ultimately help you get the most from this that you can.
How to Make this Box
So, the time it takes is up to an hour and a half, but for the most part, it’s pretty easy. Now, what’s kind of cool about this candy box, is that, unlike with other candy boxes that you have, you’re making it out of clay. There are so many different uses for clay, and a lot that you can do with this.
To make this, you need the following:
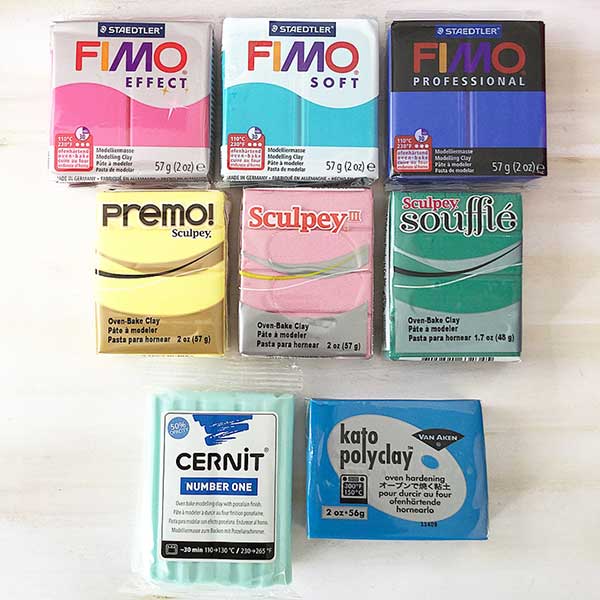
- Sculpey clay of a choice, preferably, white, pink, yellow, black, and clear,
- Some e6000 glue, and preferably a respirator since this stuff is very potent
- A clay rolling pin or rolling device
- A ruler
- A knife
- A clear acrylic box to use.
That’s all you need, and this is definitely a fun little sort so boxes for you to use.
How do you make it through? Well, read on to find out.
How to Make this
To begin with this, you need to first preheat the oven to 275, or if the Sculpey you’re using calls for something different, make sure that you do that.
So, if you’re familiar with the all sorts boxes, you’ve got the wrapped wheels, the stacked squares, or the sprinkled jellies. Personally, I like to make the wrapped wheels myself. What I like to do, is take a ball of the black clay, roll it out to about a quarter-inch of thickness, and from there, take a ball of white clay, and then roll it into a log shape that’s about ¼ inch thick as well.
From here, take the black clay, wrap it around the white clay, and then roll this with your hands until the clay is full covered with the black clay itself. Take a sharp knife in order to trim the ends off, and then make an inch-long piece for the log, and pit it on a sheet for baking. This is great for all sorts of wrapped wheels, and I encourage you to try different colored combination and widths in order to suit this project to the way that you like it.

Now, let’s take the stacked squares and work on them.
What you want to do, is use a rolling pin and form there roll out the balls of both black, yellow, and white clay until they’re about an eight in thickness. Stack these circles of play, pressing lightly in order to ensure that they’re stuck together, and nice as well.
From there, using a ruler to guide, you should take the knife and cut the squares that’s about an inch and a quarter by an inch and a quarter. From here, put that on the baking sheet, and repeat it with as many colors as you’d like to use.
Finally, let’s take these sprinkle jellies! This one requests you to take a little bit of the clear clay and from there, roll it into a log shape that’s about ¾ inch thick. From there, trim the ends off, and slice off the piece that’s about ¾ inches wide. From here, grab the pink clay, and pinch off the small pieces that are there.
Roll these into balls that are sprinkle-sized, and from there press this into the transparent clay until everything is fully covered.
From here, bake this with the rest of your creation.
From here, bake this according to the instructions, so about 45 or so minutes.
Once it’s there, you then are going to stack these. Why not do it before? Well, you want to make sure everything is nice and firm, and the best part is, there is E6000 to try out, and you can do this with about 2-3 pieces of this together, and from there, use the glue to stack this to the lid of the candy boxes themselves, crating the perfect candy box handle that you can make. Easy, right?
That’s literally all it is, but I do highly recommend that if you’re going to be using E60000 to have a respirator on hand. Why is that? Well, this stuff is very toxic, and while it sticks amazingly, this is definitely something you shouldn’t be using without either a respirator, or a ventilated room.
But, once it’s dried and cured, you’re pretty much done! You can fill this with whatever candies you feel like throwing into this pretty little box. So simple, right?

What types of candy?
With this type of box, I notice that the best candies for this, are those that are good for clear packaging. Remember, this box is clear, so you’re not going to want to put any candies that are unsightly in there. This is more of an elegant box, so I do recommend actually putting nice candies, some macarons, and other types of tasty treats into there. You don’t even have to put candy in there, but it’s ideal for candy, since there are so many benefits to using this, and a lot of great ways for you to use this, and a lot of fun aspects that you can try and love.
What do you do after you’re done with the candy though? That’s easy! Once you’ve eaten all of it, the boxes would be a wonderful locale to store those cotton balls that are in place, different makeup including lip glosses, and other household items that you may use. This fits perfectly on the counter of your bathroom, so I do recommend it as well.
You can even reuse this box too. If you have no use for it yourself, you can give it to others, filled with little trinkets, or even having a lot of fun candies put in this. You can make these too for parties, or to give to someone. If you want to use different colors for themes, then by all means, do that. There are so many fun ways to dress up these candy boxes, so don’t hesitate to try!